I found this pattern and tutorial here! It is fun to make, and easy to follow. "Smashed Peas and Carrots" has a bunch of nifty little crafts and stuff.
This is the front. I made a tiny change to the instructions. Instead of doing a button and button hole (because I bought too big of buttons), I did velcro closures and the buttons are just decoration. I figure this will also make it easier to dress baby since they move around.
This is the back.
Give this a try for a little one you know! It's for ages 6-12 months. However, as baby gets bigger, this little dress can become a fun little shirt for her. The next one I make I want to try to add a little lace or something at the bottom or a little sleeve of some sort, idk, we'll see.
I'm new to sewing. This blog is all about the things I am learning to make. I will be making this into a second income for myself and this will be my major site! Enjoy what I have to offer!
Saturday, September 1, 2012
Baby survival package
I can finally post this! My sister just had her baby girl and she is a small sweetie! My sister opened her baby survival package so now I can post the photos! A lot of people are doing these things so they aren't original ideas. However, I thought they turned out pretty good. It's some of the first stuff I ever sewed.
These photos are the two sides of a small things holder. Pacifiers and other tiny things will fit in this little bag. The outside is felt so it's soft if baby gets ahold of it. It is lined with a green cotton fabric so this is 100% washable. Ribbon is sewn around the top and as a little handle.
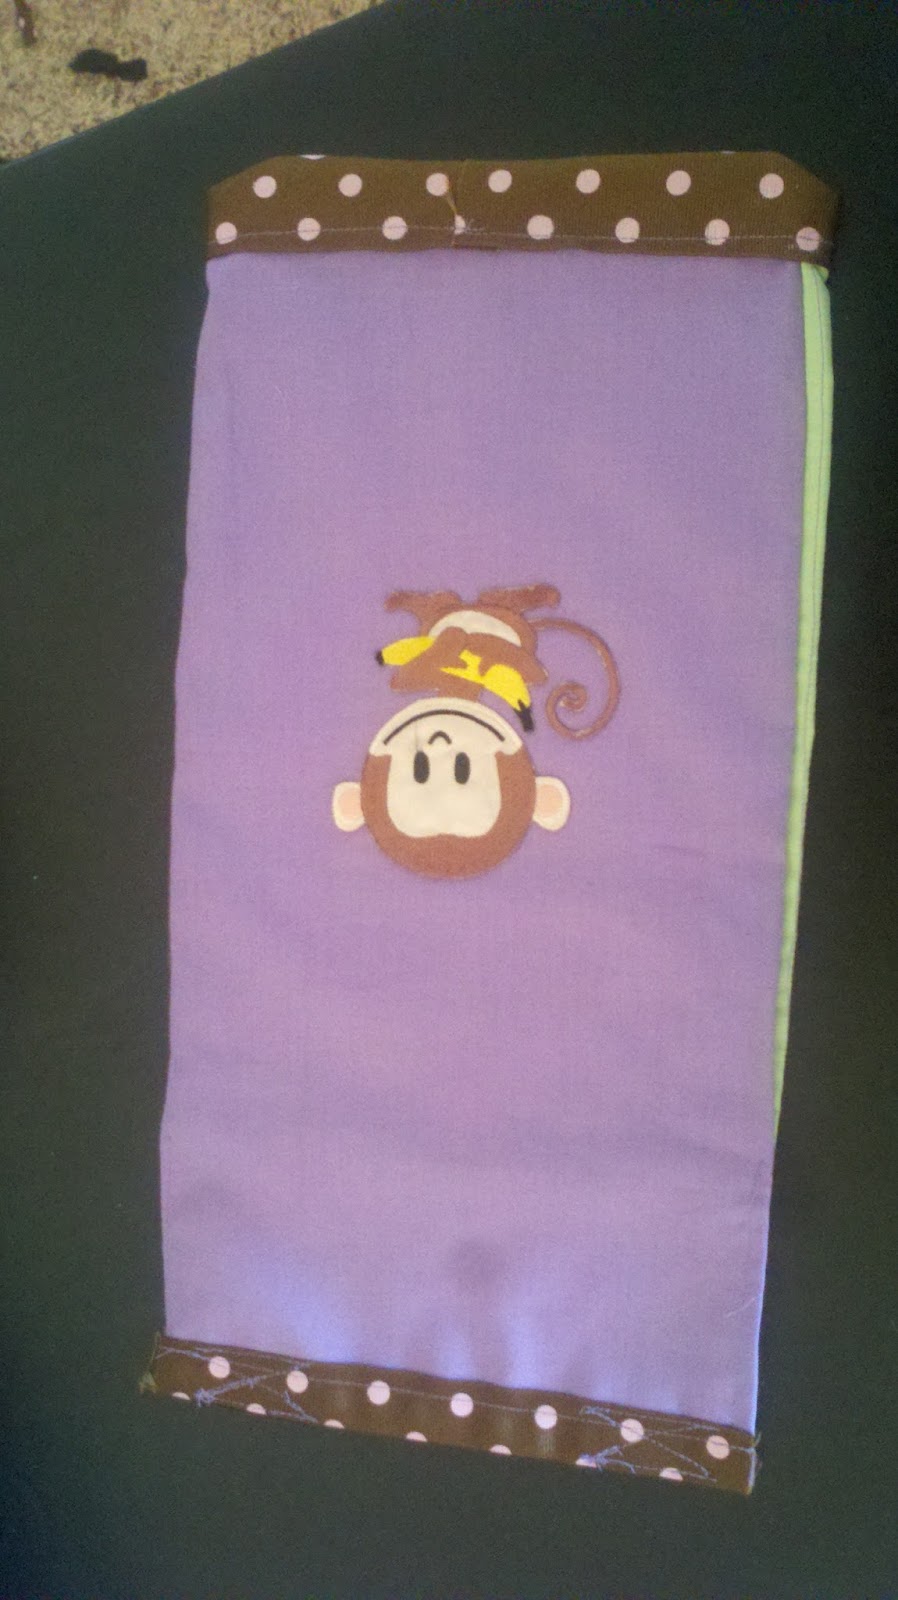
This is side 1 and 2 of a reusable wipes case. There are tons of tutorials of these all over the web! But these are very simple as long as you have a hot glue gun. On the front I put a little monkey. on the back I made a little tag, it says Comet Creation. My machine doesn't do embroidery well but at least I tried!
This is the front and back of a small diaper case. It should hold between 3-5 diapers for now. When she gets bigger and the diapers get bigger, it might hold less. again there is a little monkey on the front. It has velcro closures for quick and easy open and close.
Finally we have the changing blanket. Fleece on one side, fabric on the other, with batting in the middle. Outlined with with ribbon. This is intended to be used anywhere. When you're out, put it on the changing table. When you're home, put it on the floor or changing table. Use it anywhere to keep baby comfy. Added bonus....you know where it's been! No more worries about the cleanliness of the tables you lay baby on, through down the blanket and baby stays clean! It can also double as a blankey to keep baby warm instead, if needed. It is 100% washable. So if baby goes potty on the blanket, you can through it in the washing machine.
All of this comes wrapped up in a homemade belt. The belt is the same ribbon that has been used throughout the package. It all wraps together for a quick and easy retrieval when baby needs a change. Instead of fishing around for each individual item you grab one bundle and you're ready to go!
These photos are the two sides of a small things holder. Pacifiers and other tiny things will fit in this little bag. The outside is felt so it's soft if baby gets ahold of it. It is lined with a green cotton fabric so this is 100% washable. Ribbon is sewn around the top and as a little handle.
This is side 1 and 2 of a reusable wipes case. There are tons of tutorials of these all over the web! But these are very simple as long as you have a hot glue gun. On the front I put a little monkey. on the back I made a little tag, it says Comet Creation. My machine doesn't do embroidery well but at least I tried!
This is the front and back of a small diaper case. It should hold between 3-5 diapers for now. When she gets bigger and the diapers get bigger, it might hold less. again there is a little monkey on the front. It has velcro closures for quick and easy open and close.
Finally we have the changing blanket. Fleece on one side, fabric on the other, with batting in the middle. Outlined with with ribbon. This is intended to be used anywhere. When you're out, put it on the changing table. When you're home, put it on the floor or changing table. Use it anywhere to keep baby comfy. Added bonus....you know where it's been! No more worries about the cleanliness of the tables you lay baby on, through down the blanket and baby stays clean! It can also double as a blankey to keep baby warm instead, if needed. It is 100% washable. So if baby goes potty on the blanket, you can through it in the washing machine.
All of this comes wrapped up in a homemade belt. The belt is the same ribbon that has been used throughout the package. It all wraps together for a quick and easy retrieval when baby needs a change. Instead of fishing around for each individual item you grab one bundle and you're ready to go!
Monday, August 27, 2012
How to make: Travel pillow!
This is my first tutorial I have done so hopefully it is easy to understand. Also, I don't really have a pattern, nor do I know how to upload patterns or I would have one.
I made a travel neck pillow for my husband. It was very simple and took maybe an hour. The first thing you need to do is gather materials: Fabric, Thread, Sewing machine, Stuffing, needle. This is a very cheap project. Depending on the size of the pillow you want to make you shouldn't need much fabric. I got 1 yard and it was more than enough. I also only used 1 type of fabric, for this project you could do different types, but I went simple.
Step 1: fold fabric in half, right sides together.
Step 2: fold fabric in half again. You should now have a square.
Step 3: Draw out, either on seperate paper or fabric, the shape you want the pillow to take. I used wax paper to draw mine on. Then, if you did what i did, pin paper to fabric on fold. Not the double fold side....the single fold side.
Step 4: Cut fabric. I cut the fabric a little bigger than the shape I drew because I just wanted a general idea of the shape....not the actual size. Also, If I would have done it to the actual size I drew it, then I would have a pillow small enough for a kid.
Step 5: unpin paper, unfold fabric. Make sure your right sides are still together and pin the two sides together.
Step 6: sew around the whole pillow. Make sure to leave an opening somewhere to flip the fabric and stuff the pillow
I double pin like this where my opening will be so I don't forget about it.
Step 7: Clip your turns.....apparently this is important, not sure why but every tutorial I have read on rounded items says to do this, so I do....I get it on garments, but not pillows. Oh well, do it anyways.
Step 8: Flip it right side out.....
This is what it should look like at this point.....
Step 9: Iron the pillow.
Step10: Find a fill you want, I used this:
.....and stuff your pillow. This was probably the most time consuming part. Make sure you stuff it as full as YOU want it! Test it out before sealing the hole. Stick it on the floor or table and lay on it to make sure it is the right firmness.
....As you stuff you will see it take shape.
Step 11: Thread a needle and handstitch the opening shut. Depending on the size of your whole you left.....this could take a while too.
And Bam.....In less than an hour you have yourself a pillow. Take it with you on your next trip. Stay comfy cozy on a plane, in a car, or just sitting outside in your lawn chair reading a good book.
I hope you enjoyed this tutorial. I just figured since I couldn't find anything online that I would post something. I know it's not difficult, but it's fun!
I made a travel neck pillow for my husband. It was very simple and took maybe an hour. The first thing you need to do is gather materials: Fabric, Thread, Sewing machine, Stuffing, needle. This is a very cheap project. Depending on the size of the pillow you want to make you shouldn't need much fabric. I got 1 yard and it was more than enough. I also only used 1 type of fabric, for this project you could do different types, but I went simple.
Step 1: fold fabric in half, right sides together.
Step 2: fold fabric in half again. You should now have a square.
Step 3: Draw out, either on seperate paper or fabric, the shape you want the pillow to take. I used wax paper to draw mine on. Then, if you did what i did, pin paper to fabric on fold. Not the double fold side....the single fold side.
Step 4: Cut fabric. I cut the fabric a little bigger than the shape I drew because I just wanted a general idea of the shape....not the actual size. Also, If I would have done it to the actual size I drew it, then I would have a pillow small enough for a kid.
Step 5: unpin paper, unfold fabric. Make sure your right sides are still together and pin the two sides together.
Step 6: sew around the whole pillow. Make sure to leave an opening somewhere to flip the fabric and stuff the pillow
I double pin like this where my opening will be so I don't forget about it.
Step 7: Clip your turns.....apparently this is important, not sure why but every tutorial I have read on rounded items says to do this, so I do....I get it on garments, but not pillows. Oh well, do it anyways.
Step 8: Flip it right side out.....
This is what it should look like at this point.....
Step 9: Iron the pillow.
Step10: Find a fill you want, I used this:
.....and stuff your pillow. This was probably the most time consuming part. Make sure you stuff it as full as YOU want it! Test it out before sealing the hole. Stick it on the floor or table and lay on it to make sure it is the right firmness.
....As you stuff you will see it take shape.
Step 11: Thread a needle and handstitch the opening shut. Depending on the size of your whole you left.....this could take a while too.
And Bam.....In less than an hour you have yourself a pillow. Take it with you on your next trip. Stay comfy cozy on a plane, in a car, or just sitting outside in your lawn chair reading a good book.
I hope you enjoyed this tutorial. I just figured since I couldn't find anything online that I would post something. I know it's not difficult, but it's fun!
Labels:
dragon,
flame,
neck,
neck pillow,
pillow,
sew,
sewing,
stitch,
travel,
travel pillow
Double circle skirt
This skirt was frustrating at times, but overall pretty easy. I started it a couple weeks ago, But I finished it today! It started as just a red skirt but I cut it a little too short (for me). So, I added a black skirt and sewed them together. I then (finally) found a wide elastic band and used that as the waist band. I think this skirt turned out way better than my first skirt that I made. I am really proud of this one and hope to wear it often!
apron
This is my apron. I made it today. I bought a yard of the fabric because I thought it was neat. I had no idea what to do with it so I decided to make an apron. This is my Thanksgiving apron. There are little pleats in the skirt portion. It ties in the back and goes over the head. It was actually kind of fun to make. I'm thinking of making a christmas one and a couple year-round ones. This was quick and easy and I still have fabric left over.
Friday, August 24, 2012
Coming soon
I have decided that I am making my husband and I travel pillows. You know those pillows that wrap around your neck? Well, I'm going to be making two. I haven't been able to find any tutorials or how-to's or patterns. So, as soon as my mouth heals enough and I am able I will be making a tutorial for these pillows. This way, if anyone else wants to give it a try they can. I'm probably just going to do it by measurements and not with a pattern. We will see though. Travel pillows will be nice because they can go anywhere and can be used anytime. The picture on the right is pretty much what it will look like. Lets see how close I can get.
Thursday, August 23, 2012
Bibs and burp cloths part 2
This set is called Elmo and Friends. This set was a rush set and kind of out of the blue. I didn't plan on making this set but it was fun. These bibs were alot easier to make than the bee bibs and they should fit the child as he/she grows. again, the fabric was purchased at Walmart. the back side, the friends side, is made with flannel this side. The Elmo side is cotton. I then surrounded the bibs with double fold bias tape, I love that stuff. It takes my mediocre stitching and hides it. It makes everything I make look ten times better. The burp cloth is the same exact look and size as the bee burp cloth. This time I used no pattern for the bibs though because patterns were starting to frustrate me. i just drew on the fabric the shape and size I wanted and cut it out and sewed it all together. A lot easier than I thought it would be. This was also very fitting because Elmo is my sisters' favorite character as a child and sesame street is good for both girls and boys. I'm getting better at curves at this point, but still need a little work. I also need to remember to clip my curves before flipping my items. But, like i said, this was a rush project.
Subscribe to:
Posts (Atom)