So I have been seeing people online have been making their own dress forms out of all sorts of things. After finding this out, I decided to give it a try. I won't really know how it worked til I make some clothes. However, I think it looks alright. Well, I decided to do my own tutorial. Hopefully this will help anyone out there who, like me, is in need for a dress form but is poorer than poor.
THIS is where I got the idea!
Make sure you do a couple things first.....where a bra and a "tight" under shirt.
So lets get started. You need to start with materials. You need a shirt that is too large for you, for me I got a men's XXL T-Shirt from walmart (on sale for $3). You also need some duct tape. Depending on your size you shouldn't need more than 2 rolls. I bought 3 just in case. I only used 1 on the form and part of one for the end of the project. You also need some cardboard for stabilizing and some stuffing......
This is my shirt and tape.
You also need your trusty helper.....can't wrap yourself in duct tape. I chose my husband!
For cardboard.....I went and got some from work (walmart). and the stuffing came from old pillows that aren't being used.
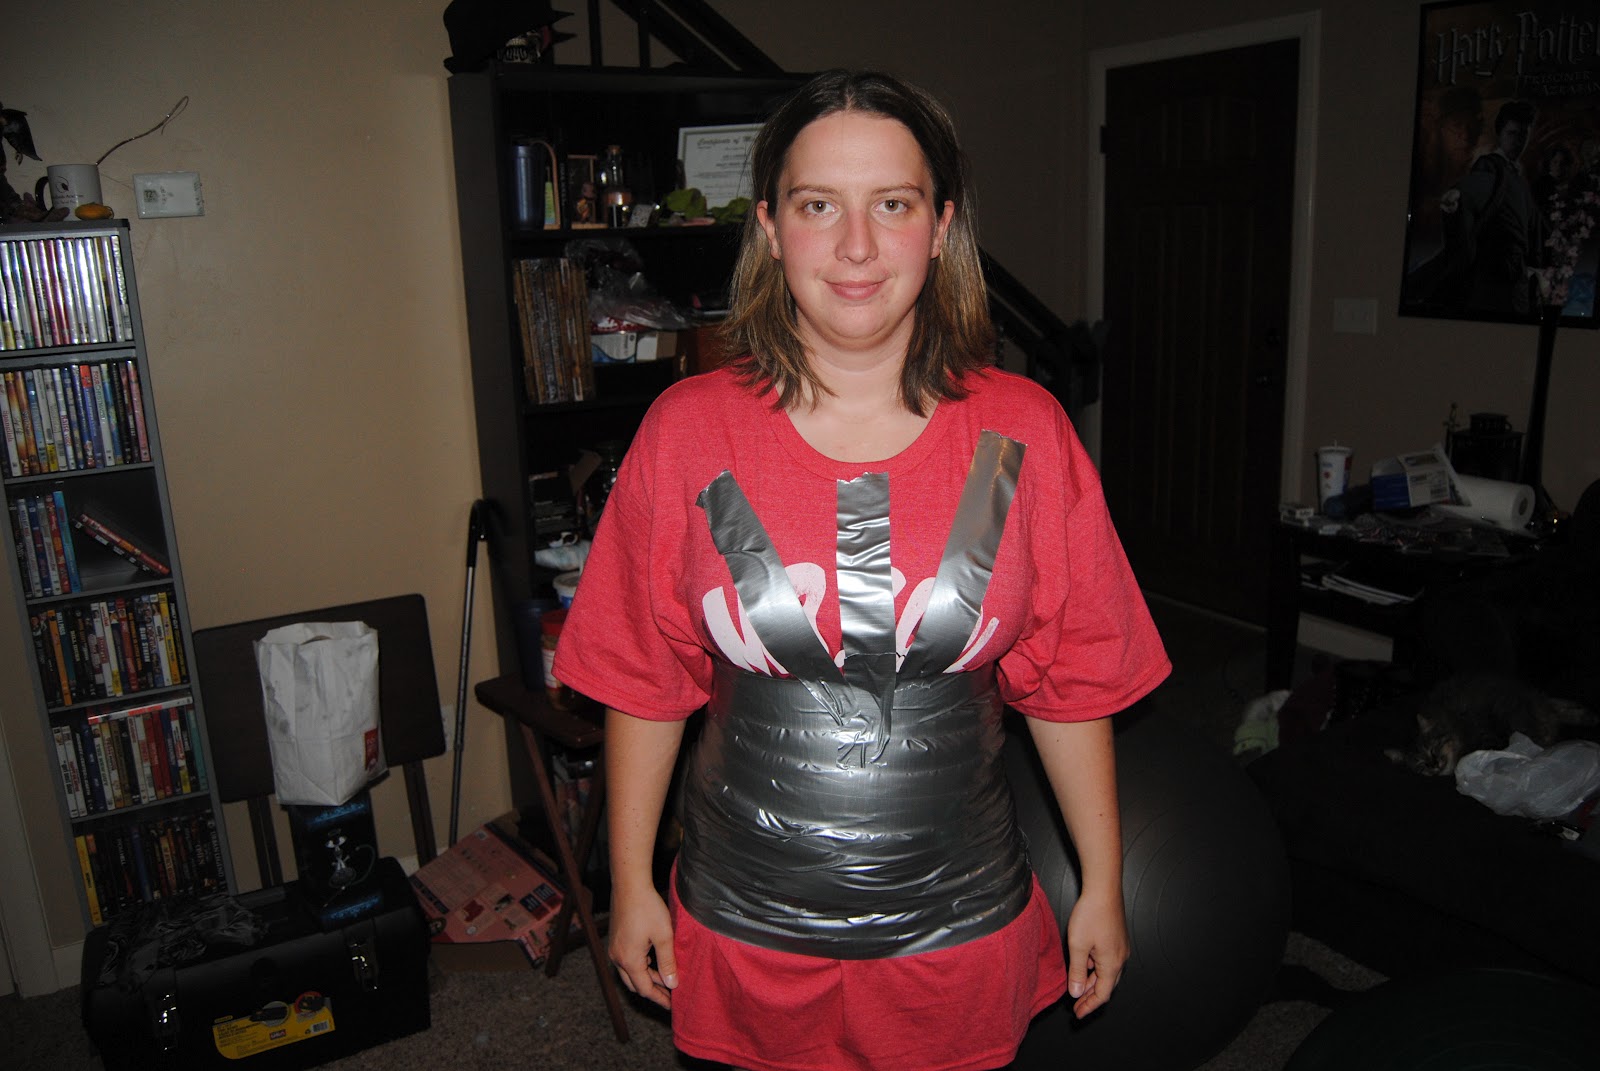
Start wrapping the duct tape from. Start and the lowest point you want the form. I have a big butt so I started there. You can start lower or higher, depends on your shape.
When you get to the chest, start wrapping the tape up and down instead of around. The up and down wrapping helps form the chest better. I tried going around, but it made the chest look flat.....up and down is definitely best.
Keep doing the up and down wrapping over your chest, shoulders and upper back.
While doing this, form the neckline you want and the arm holes.
When you get it wrapped to your satisfaction, draw and line down the center and and horizontal lines where you want them. I did one across the center of the chest, under the boobs, and across my belly button.
Very carefully, cut the form off on the back. Make sure not to cut the shirt or bra when you are cutting this. After you cut slip the form off very carefully and, without overlapping, carefully tap over the cut to finish your form.
Cut out the cardboard to fit the bottom of the form and tape it to the form (sorry no pics of this). then stuff your form from the top. You can also put card board in the arm holes to help those keep shape. Where this is my first form I was getting tired so I didn't do that part.
When you are done with your form it should look a little like this.
You can stick a hanger in the top to hang it....which is what I plan. I am going to put a hook in the ceiling and hang it from that when using and putting it in the closet when I'm not. OR, you can make a pole out of cardboard or whatever and afix your form to that. I'm not that handy so you can figure that out.
I hope my dress form works out for me. I'm going to be making my first item using it tomorrow! I'm going to be making a jumper so look out for another tutorial. It'll be great if this works. I am looking at getting a dress form from amazon at some point.....one of those adjustable ones. But for now, this should work. Hope you enjoyed the tutorial and hope it helps you make your own dress form!
I'm new to sewing. This blog is all about the things I am learning to make. I will be making this into a second income for myself and this will be my major site! Enjoy what I have to offer!
Tuesday, September 11, 2012
Tuesday, September 4, 2012
Turtle time
I made this little turtle. It was fairly easy, just make sure the fabric doesn't bunch when you sew it all together. Im going to be giving this little guy to my nephew next time I see him. It took me around 45 min to an hour to cut stuff and sew everything. It was fun to make. The most difficult part was turning out and stuff the tail. The next turtle I make I will sew it a little differently so the feet, head, and tail don't flop around. But isn't he just a cutie!
These aren't the greatest pictures. for some reason the flash on my camera wasn't working. I'll fix the bugs for the next thing I sew!
If you wish to make your own turtle, visit THIS link! Very awesome stuff.
You might also like:
These aren't the greatest pictures. for some reason the flash on my camera wasn't working. I'll fix the bugs for the next thing I sew!
If you wish to make your own turtle, visit THIS link! Very awesome stuff.
You might also like:
![]() |
| Monkey |
![]() |
| yoda |
![]() |
| Turtle |
![]() |
| Penguins |
Monday, September 3, 2012
infinity dress try 1
I have been seeing this dress everywhere and decided to give it a try. However, my downfall was I didn't have enough fabric. I only had 3 yards to do skirt, straps, and all. I also made the mistake of doing it with a non stretchy fabric so I had to add a zipper! My straps are a little short due to a shortage of fabric and the store had no more of the same fabric. So I may be limited in what I can do, but it's still a fun dress to make and wear. I thought the material is fun too. I have another fabric, same material except all green, I want to make this same dress out of it. Hopefully I have enough this time, however I think I'm going to need to get more! Ahhhhhh! The only down side to this dress is the amount of fabric you have to get. I want to try this with a knit fabric (like it's supposed to be down with) but I have never worked with knits nor do I know where to get them. So, Here are a few pics of the dress. I hope I have impressed with this!
***Sorry the photos are kind of blurry/horribly taken.....I'll have my husband take some at a later date.
Saturday, September 1, 2012
thanksgiving for puppy
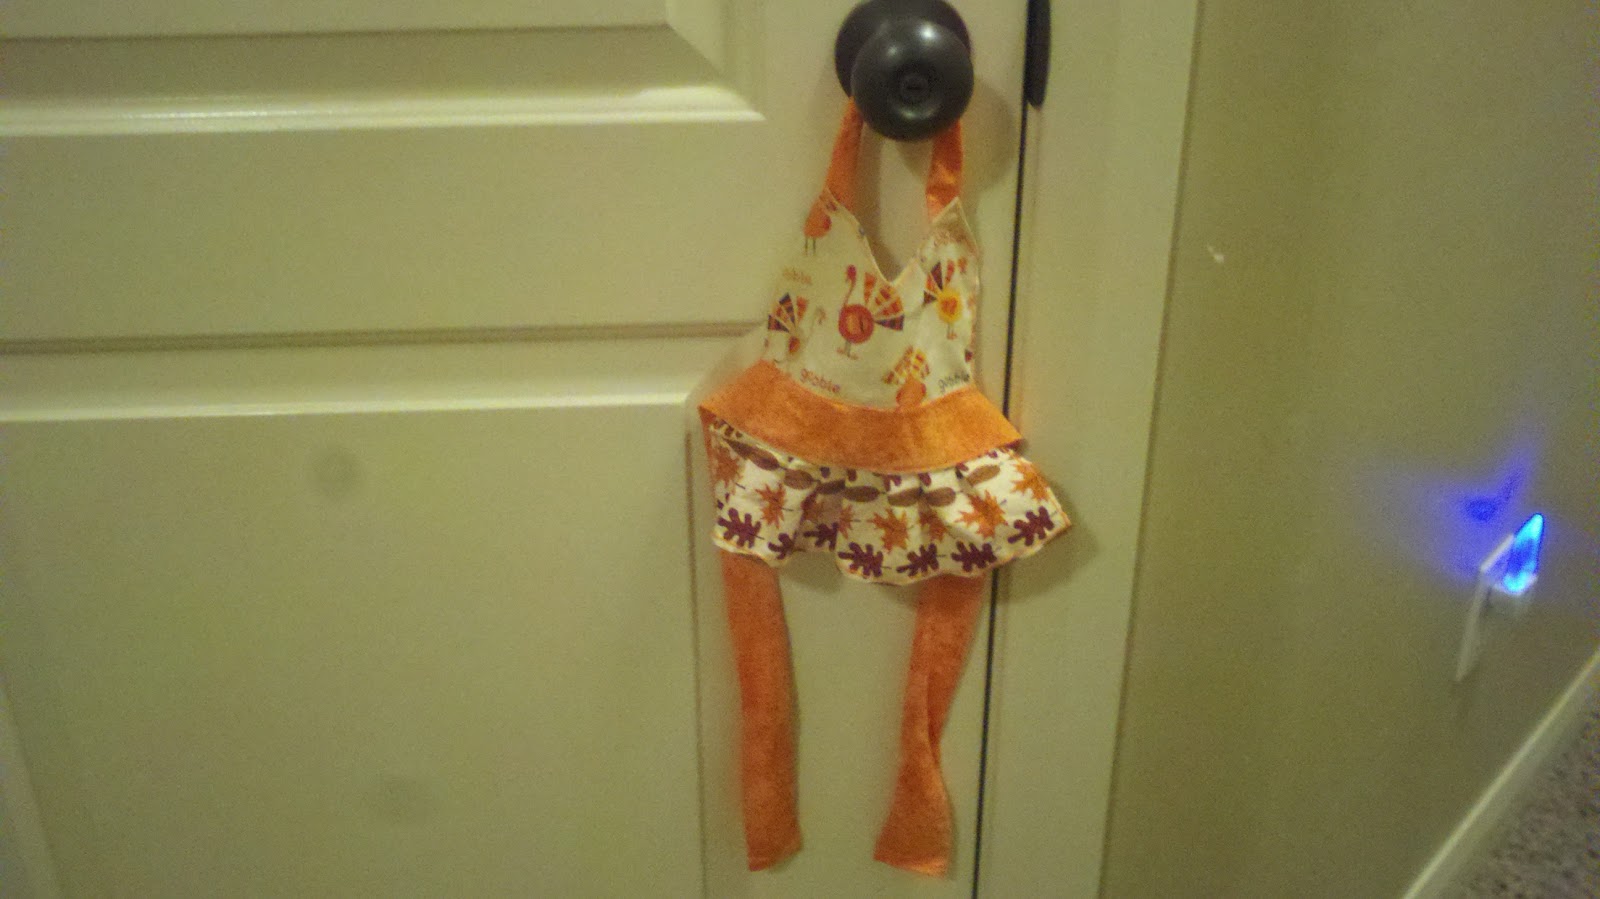
I made this little apron dress for my baby to wear on Thanksgiving. I intend on her and I both wearing our aprons while I cook dinner and she eats what drops on the floor lol.
This is a photo of the dress without a dog in it!
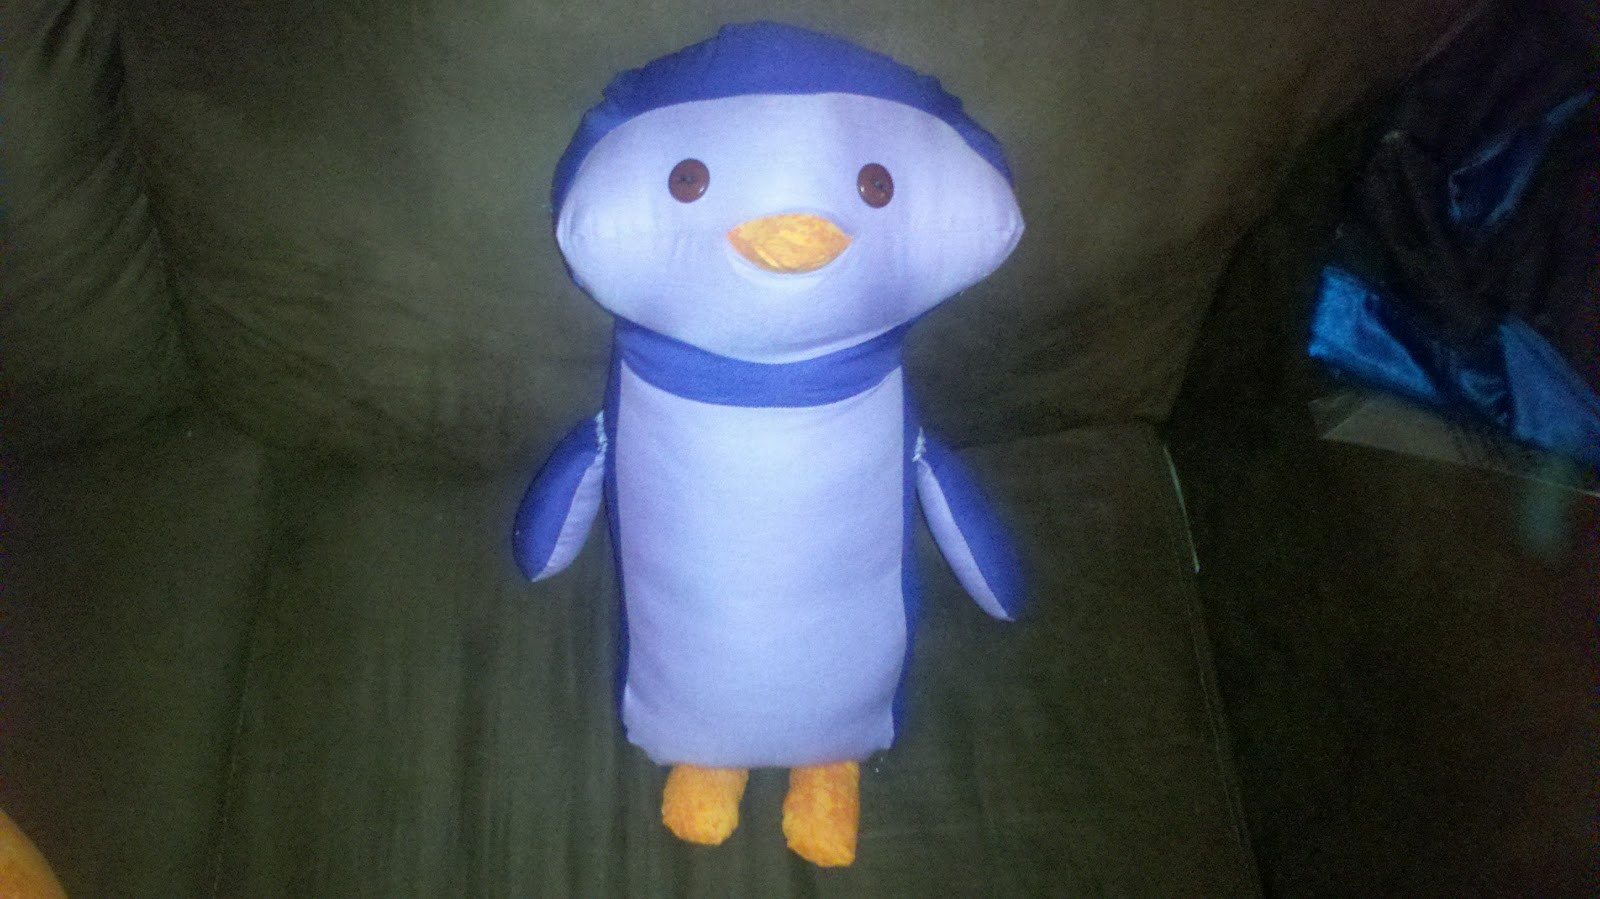
Penguin!
******UPDATE!!!!!!*******
Here is another penguin I did tonight! The pattern and tutorial for this one is at THIS site! Have fun and I hope yours is less frustrating than mine!
Crossover Pinafore
I found this pattern and tutorial here! It is fun to make, and easy to follow. "Smashed Peas and Carrots" has a bunch of nifty little crafts and stuff.
This is the front. I made a tiny change to the instructions. Instead of doing a button and button hole (because I bought too big of buttons), I did velcro closures and the buttons are just decoration. I figure this will also make it easier to dress baby since they move around.
This is the back.
Give this a try for a little one you know! It's for ages 6-12 months. However, as baby gets bigger, this little dress can become a fun little shirt for her. The next one I make I want to try to add a little lace or something at the bottom or a little sleeve of some sort, idk, we'll see.
This is the front. I made a tiny change to the instructions. Instead of doing a button and button hole (because I bought too big of buttons), I did velcro closures and the buttons are just decoration. I figure this will also make it easier to dress baby since they move around.
This is the back.
Give this a try for a little one you know! It's for ages 6-12 months. However, as baby gets bigger, this little dress can become a fun little shirt for her. The next one I make I want to try to add a little lace or something at the bottom or a little sleeve of some sort, idk, we'll see.
Baby survival package
I can finally post this! My sister just had her baby girl and she is a small sweetie! My sister opened her baby survival package so now I can post the photos! A lot of people are doing these things so they aren't original ideas. However, I thought they turned out pretty good. It's some of the first stuff I ever sewed.
These photos are the two sides of a small things holder. Pacifiers and other tiny things will fit in this little bag. The outside is felt so it's soft if baby gets ahold of it. It is lined with a green cotton fabric so this is 100% washable. Ribbon is sewn around the top and as a little handle.
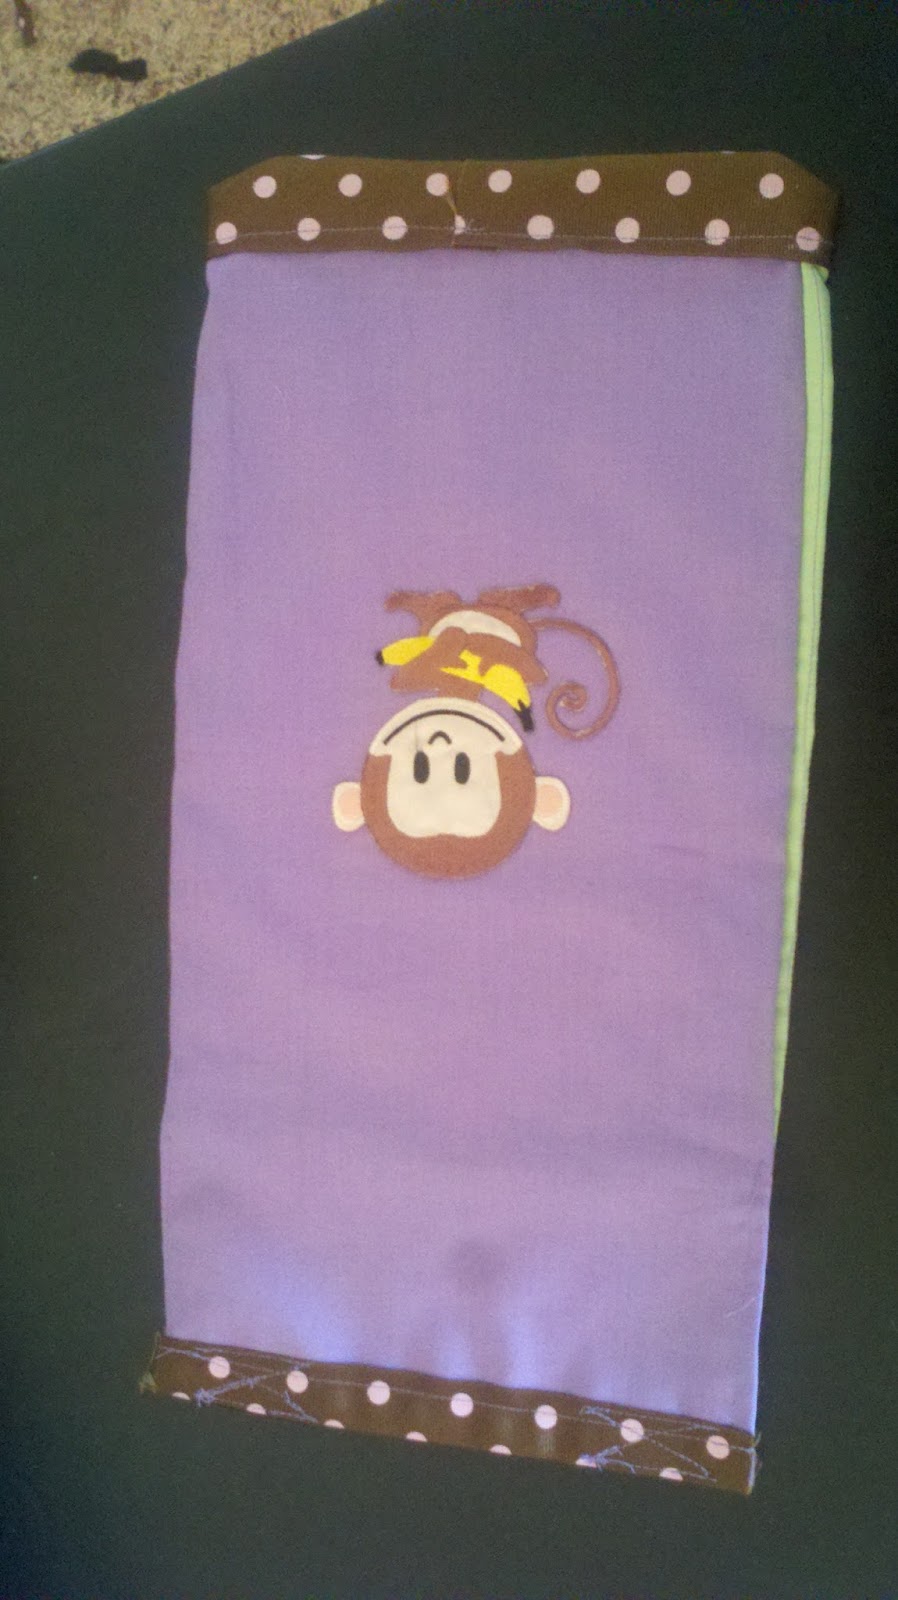
This is side 1 and 2 of a reusable wipes case. There are tons of tutorials of these all over the web! But these are very simple as long as you have a hot glue gun. On the front I put a little monkey. on the back I made a little tag, it says Comet Creation. My machine doesn't do embroidery well but at least I tried!
This is the front and back of a small diaper case. It should hold between 3-5 diapers for now. When she gets bigger and the diapers get bigger, it might hold less. again there is a little monkey on the front. It has velcro closures for quick and easy open and close.
Finally we have the changing blanket. Fleece on one side, fabric on the other, with batting in the middle. Outlined with with ribbon. This is intended to be used anywhere. When you're out, put it on the changing table. When you're home, put it on the floor or changing table. Use it anywhere to keep baby comfy. Added bonus....you know where it's been! No more worries about the cleanliness of the tables you lay baby on, through down the blanket and baby stays clean! It can also double as a blankey to keep baby warm instead, if needed. It is 100% washable. So if baby goes potty on the blanket, you can through it in the washing machine.
All of this comes wrapped up in a homemade belt. The belt is the same ribbon that has been used throughout the package. It all wraps together for a quick and easy retrieval when baby needs a change. Instead of fishing around for each individual item you grab one bundle and you're ready to go!
These photos are the two sides of a small things holder. Pacifiers and other tiny things will fit in this little bag. The outside is felt so it's soft if baby gets ahold of it. It is lined with a green cotton fabric so this is 100% washable. Ribbon is sewn around the top and as a little handle.
This is side 1 and 2 of a reusable wipes case. There are tons of tutorials of these all over the web! But these are very simple as long as you have a hot glue gun. On the front I put a little monkey. on the back I made a little tag, it says Comet Creation. My machine doesn't do embroidery well but at least I tried!
This is the front and back of a small diaper case. It should hold between 3-5 diapers for now. When she gets bigger and the diapers get bigger, it might hold less. again there is a little monkey on the front. It has velcro closures for quick and easy open and close.
Finally we have the changing blanket. Fleece on one side, fabric on the other, with batting in the middle. Outlined with with ribbon. This is intended to be used anywhere. When you're out, put it on the changing table. When you're home, put it on the floor or changing table. Use it anywhere to keep baby comfy. Added bonus....you know where it's been! No more worries about the cleanliness of the tables you lay baby on, through down the blanket and baby stays clean! It can also double as a blankey to keep baby warm instead, if needed. It is 100% washable. So if baby goes potty on the blanket, you can through it in the washing machine.
All of this comes wrapped up in a homemade belt. The belt is the same ribbon that has been used throughout the package. It all wraps together for a quick and easy retrieval when baby needs a change. Instead of fishing around for each individual item you grab one bundle and you're ready to go!
Subscribe to:
Posts (Atom)